Boyd’s Bowie

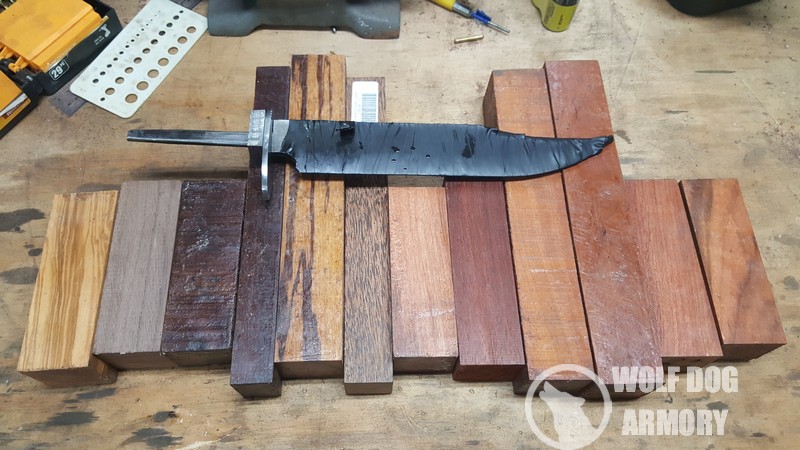
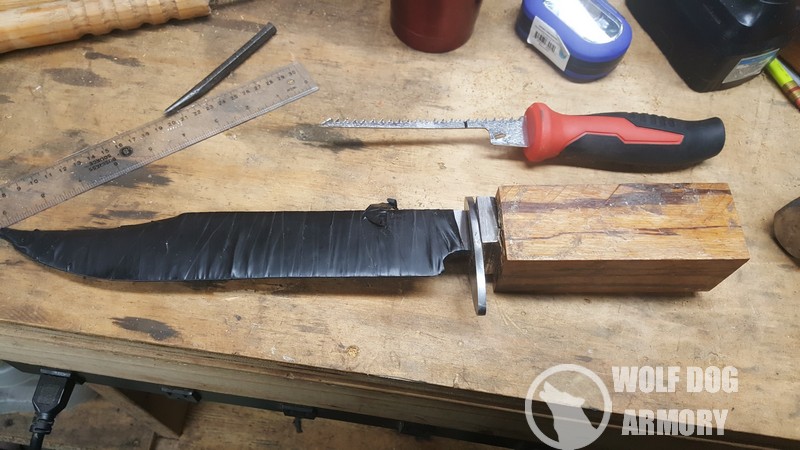
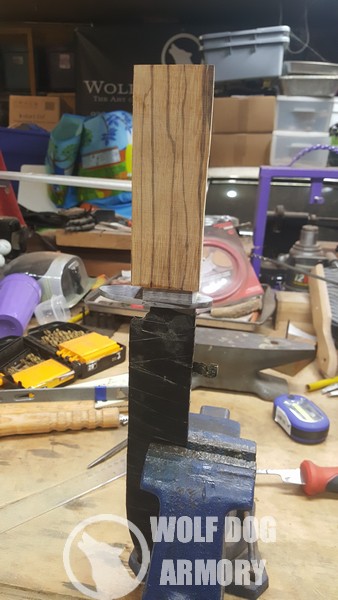
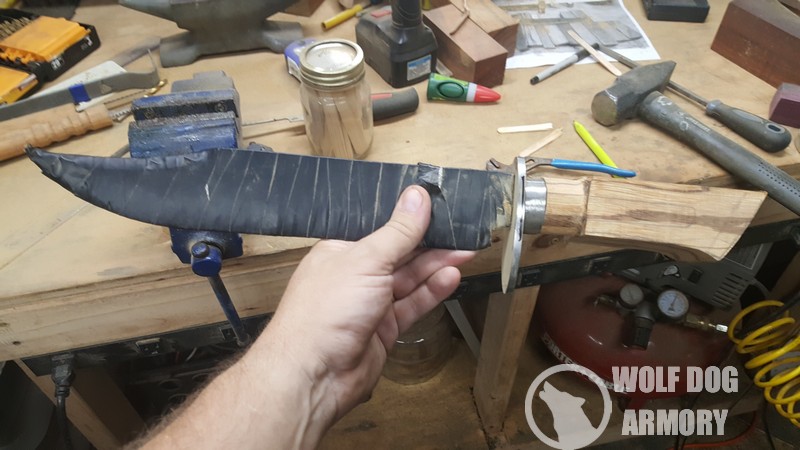
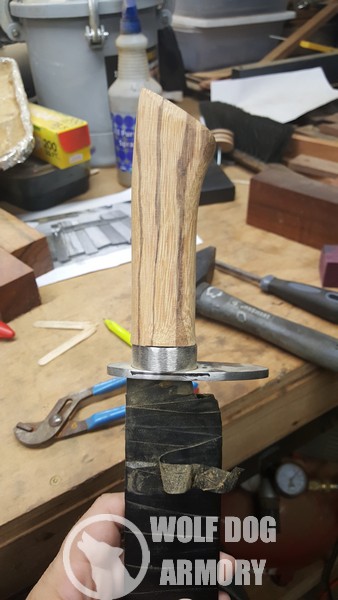
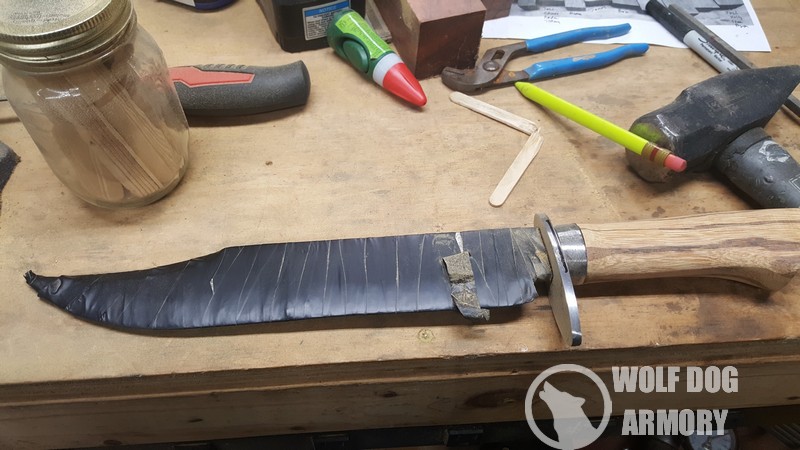
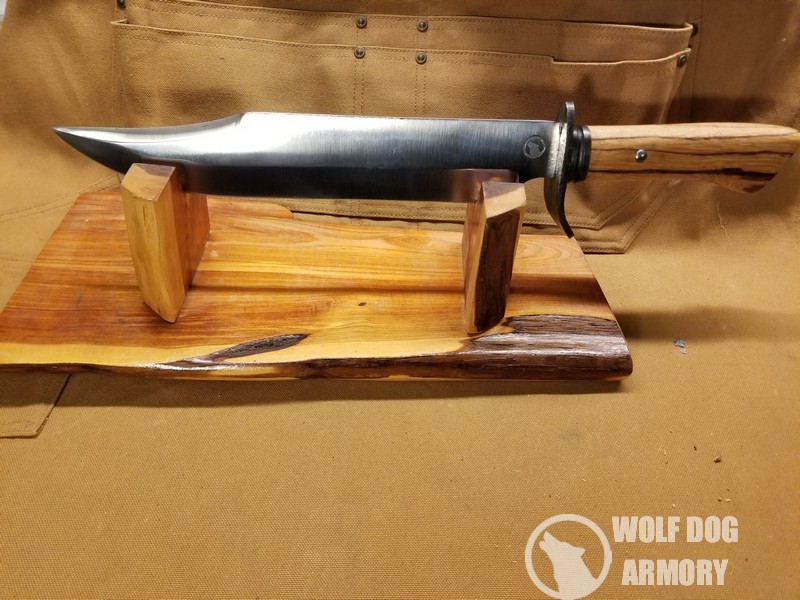
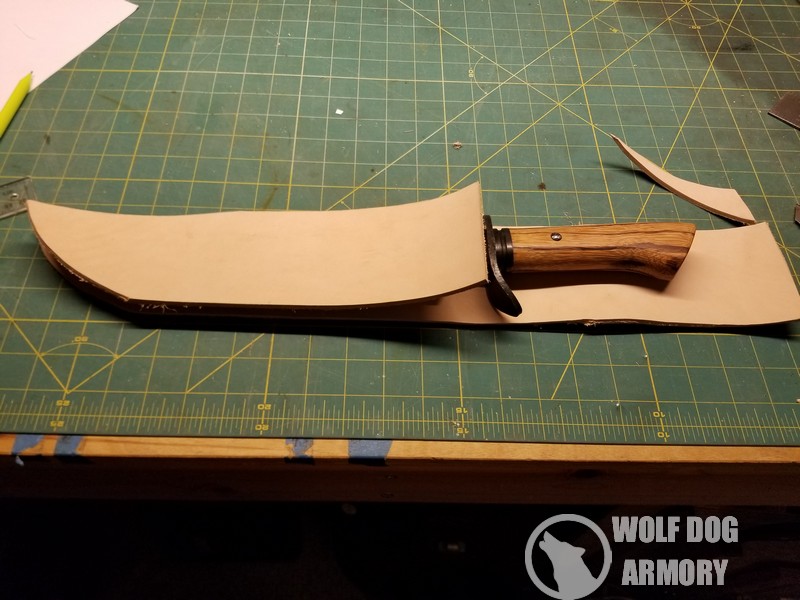
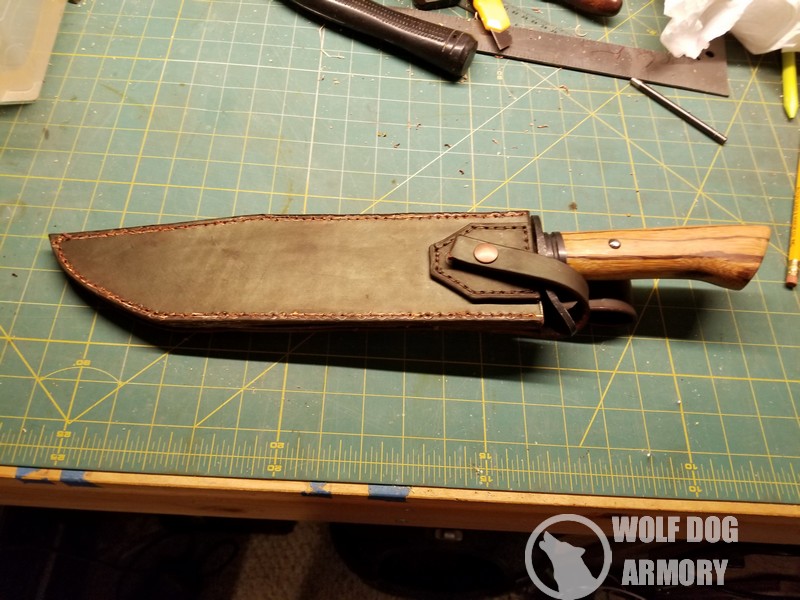
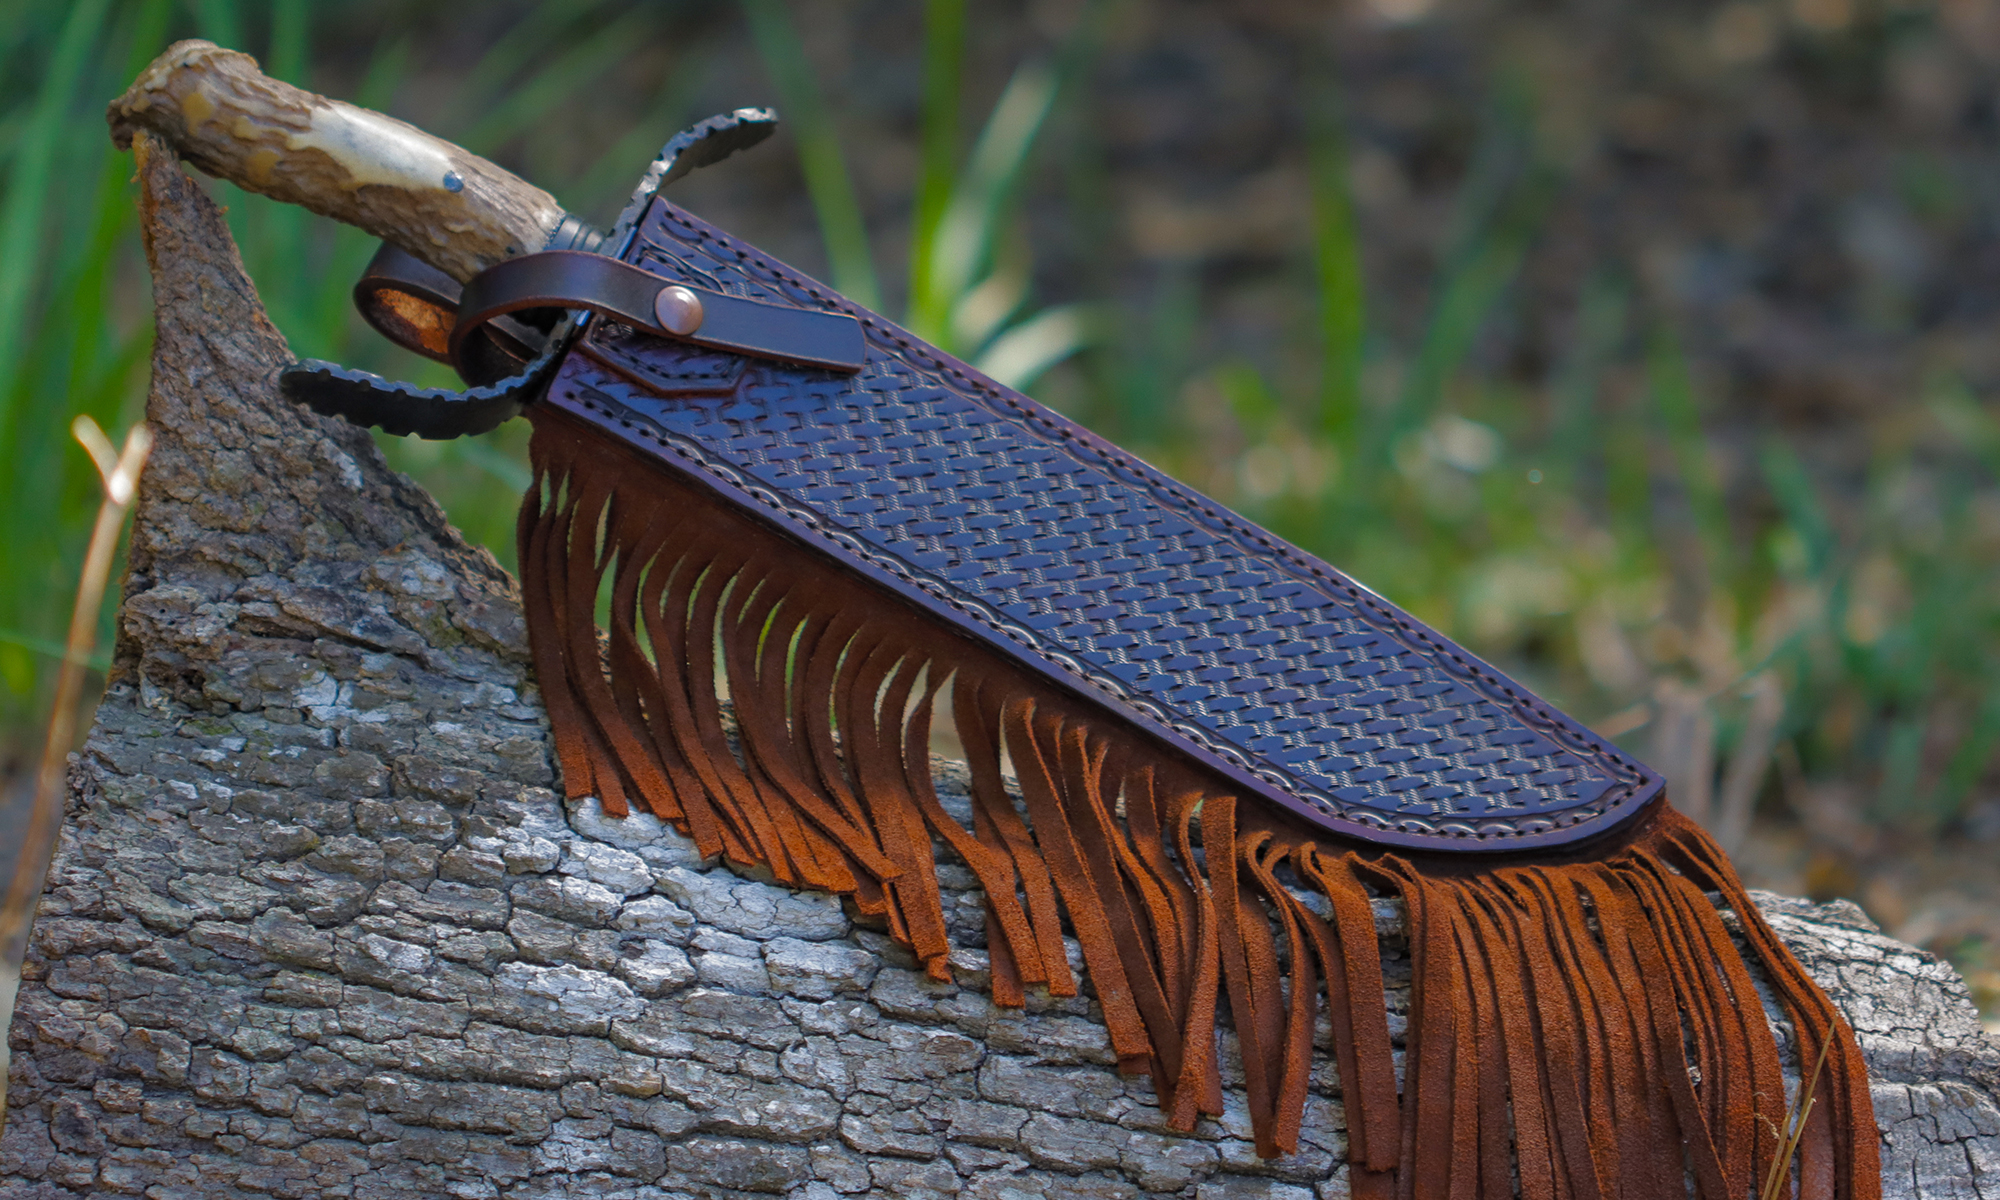
Two of my best friends turned 40 a year apart. I gave Jones the very first Bowie knife I ever made for his 40th last year, so it only seems appropriate that Boyd gets one this year.

So it begins. I started with a bar of 1070 high carbon steel that is 17 inches long and 1/4″ thick.
The design is cut out with a angle grinder and profiled with my 2×72 belt sander.
A this point I was not totally sold on the profile so I consulted with my buddy Jones. He advised to adjust the clip point to a more classic Bowie knife profile.
Nailed it.
After the blade was about 90% beveled it was time for heat treat.
Before quenching in oil I heated the blade up to this temperature three times. Each time I took it for a walk around my drive way. The blade getting this hot and cooling back down refines the grain structure of the steel and makes the blade more durable. On the 4th time in the forge I pull it out and immediately quench it.
The quench I use is canola oil that is preheated to approximately 130 degrees
On Bowie knives I do a edge quench. Only the edge of the blade goes in the oil for the first minute or so. This makes the edge of the blade hard, while leaving the spine soft and more durable.
The next step is tempering. The blade is baked in the oven at 400 degrees for 1 hour and then allowed to cool to room temperature. The process is repeated for a second time.
Fresh out of the tempering oven and black from all the carbon build up. Now it’s time to clean it up.
After a few passes on the sander I like where this is going.
At this point I started working on fitting the guard and reworking the shoulders of the knife.
The goal is to the grind perfectly straight on both side for a flush fit between the blade and the guard.
The trick here is to drill out the slot in the guard and hand file it without opening it up too much. You want the guard to fight tight to the tang and flush against the shoulders.
This part requires a tedious amount hand filing.
After what felt like three lifetimes it finally fit as flush as I was going to get it. My ultimate goal is to curve that long tip down.
Under the guard I wanted a thick steel bolster. So I repeated the process and milled out this block of mild steel
Once I managed to get the bolster flush I needed to shape it. To do this I would need to size it to fit the wood handle.
But what wood to use? I reached out to a large group of my friends, sent them this photo, and put it to a vote. #5 was the clear winner with #12 a close 2nd.
Option #5 turned out to be Marblewood. I drilled out the wood the best I could and then used my customized sheetrock saw to hog out remaining material. It worked better than I could have hoped.
Sanding it down revealed a very interesting looking wood.
At this point I basically winged it. I had a idea of what I wanted so I started thinning the block of wood down. Once I had it narrower I draw some guide lines on the sides and top and started the detail work.
I spent a few hours rough shaping the handle and bolster. I did not want to go too fast. You can always take more off. You can’t put any back on. Slow is smooth. Smooth is fast.
It’s all starting to fit together nicely at this point.
Not bad for a free hand session.
At this point I decided to have a little fun with it. I wanted to do a blued hammer finish for the guard. So I took this test strip of steel that the guard was cut from and experimented. I beat it with a series of 3 different size ball peen hammers. Once it was completely distressed I blued it with Birchwood Casey Super Blue. I loved the end results.
So here is the guard before I started.
The guard and test piece side by side.
This is the results of about 20 minutes of hammering and a quick test bluing.
Even the sides got the treatment.
And when I was totally happy with it I threw it back in the forge because I still had to bend it.
After the generous application of a 3lb hammer over the horn of my anvil I’d say that turned out just about perfect.
This was the first fit up post bending. Notice how the forge took away some of the distressed look. I will have to redo some of it.
At this point I felt like the bolster needed something more. So I started filing a groove in it with a chainsaw file.
It’s a pain to do this, but I love the end result.
The guard required more distressing due to the being in the forge and bent over the anvil.
Fit up still needs a bit more work at this point.
Before applying Birchwood Casey Super Blue.
After bluing.
Everything was starting to come together at this point.
It was at this point I received a new shipment of belts. I used the new Scotchbrite finishing belts on this blade and it turned out amazing.
Probably the best lines on any knife I’ve made so far.
One of the things I do to make sure we have absolutely no wiggle is to JB Weld the guard to the knife.
At this point I needed to oil the handle. I use Boiled Linseed oil on all my handles.
I love the results.
No blade is complete without electro etching in the WDA logo.
I’d like to tell you how well the glue up went. But I can’t. Epoxy bled out everywhere. I probably spent two hours using dental pics pulling dried epoxy off pieces. I finally gave up and had to sand down and oil the handle again.
When everything was good and clean I used a ball peen hammer to round over this pin and then blued it.
I think Jim Bowie would be proud.
Just imagine me saying this in my best Billy May’s voice “But wait! There’s more!”
This beast needs a sheath.
Leather dye is fun to play with.
Back and front. The back has the belt loop sewed and the retaining strap.
It was at this point I realized this was not going to work. That belt loop would interfere with the guard sitting flat in the sheath. I had to toss the entire back piece and start over.
I was pleased how this turned out. Ever thing you see is a hand sewn saddle stitch. I used a 6mm leather fork to mark the holes.
No…really….hand sewn. You go through the same hole from both directions, create a knot, and move to the next hole. Look up a saddle stitch. This looks terrible till you sew it and clean it up.
I completely changed how I did the back. The belt loop and retaining strap are now separate and independently sewn to the back.
Some assembly required. I use contact cement to put it all together and binder clips to hold it while it dries. The extra leather is so the clips don’t mar the sheath.
The first test fit before clean up.